
The old OpenText Documentum Webtop versions (older than 6.8.2) were using Content Transfer Applet, and clients have been complaining about the Content Transfer Applet for many years due to issues supporting Java versions on client machines as well as the inherent security problems with Applets. While the Webtop 6.8.2 version and higher removes the Applet, users are still required to install a browser extension as well as a native exe installation that utilizes Java.
This technical blog describes the installation steps and troubleshooting guide for Documentum Webtop Native Client plugin 16.4.
The new content transfer mechanism consists of two components:
- Content transfer browser extension: For each supported browser, there is a corresponding browser extension component. These extensions are a thin pass-through layer that allows the web page of a product to communicate with an external native application.
- Native client application: This is a Java-based application and requires a supported JRE running on the client machine. The native client application is responsible for transferring content between the local file system and the application server using UCF.
Also, “WDK Plugin” component is required if “Drag & Drop” option is enabled.
Steps for Webtop 16.4 plugin installation in Internet Explorer:
1. Make sure that Java 8 Update 152 or higher is installed.
If you have multiple versions of Java installed, make sure that only the correct Java 8 version is enabled.
Control Panel > Double click Java (32bit) icon > Click “Java” tab > Click “View” button.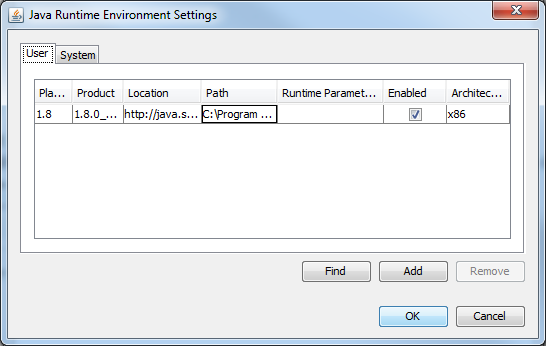
2. Make sure that you install Microsoft .NET 4.5 or later. By default, Windows 8.1 and 10 has Microsoft .NET 4.5.
3. If pop-up blocker is enabled, ensure that the Webtop URL is listed in the Exceptions list of pop-up blocker settings.
4. Ensure that you have local administrator privileges to install Browser Helper Object (BHO) on Step 5.
Note: Native client installation does not require administrator privileges.
5. Launch Internet Explorer and log in to Webtop application:
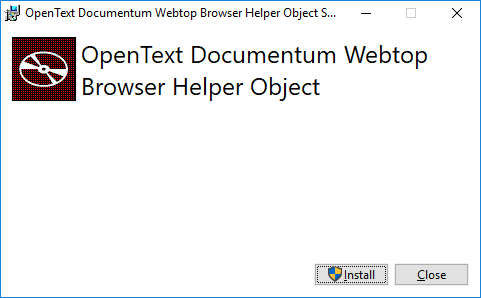
a. When prompted to install the content transfer browser extension, click Install.
b. Click Run and install BHO.
c. After the installation, click Tools > Manage add-ons.
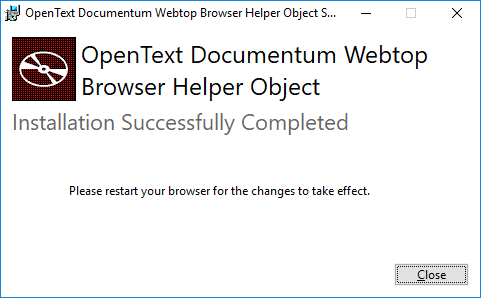
d. Verify the status of OpenText Documentum Webtop Helper Object. If the status is not enabled, enable it manually.
e. Restart the browser and log in to Webtop.
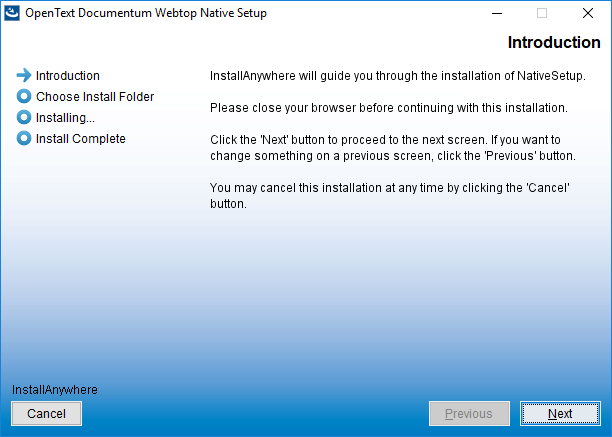
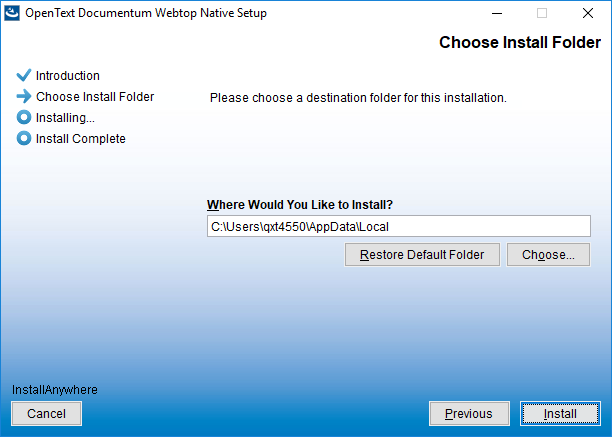
f. If prompted to install native client, click Install.
g. Click Run and install the native client application.
h. If the „Drag & Drop“ feature is enabled, you will be prompted to install WDKPluginCab.CAB file too (Requires admin privileges).
i. Restart the browser and log in to Webtop.
Now, You can now perform all the content transfer operations.
Troubleshooting Steps
1. Delete Internet Explorer Temporary files.
Internet Options > Click “General” tab > Click “Delete” button. Make sure you choose the following then click “Delete”.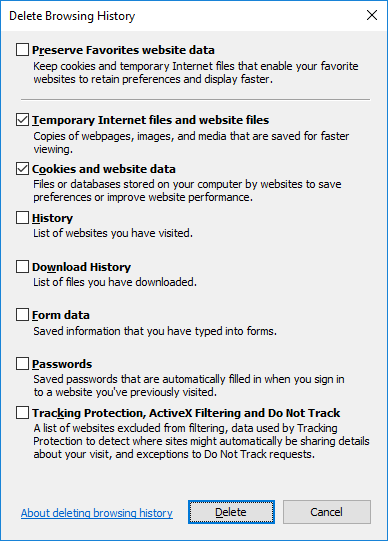
2. Internet Explorer Recommended Settings:
Click Tools > Internet Options > Click “Advanced” tab
a. Enable the following:
• Browsing > Enable Third party Browser Extension
• Security > Allow active content to run the files on my computer
• Security > Empty Temporary Internet Files folder when browser is closed [Recommended]
b. Disable the following:
• Security > Enable Enhanced Protected mode
• Security > Enable 64 bit processes for enhanced protected mode
3. Make sure that the Compatibility View Settings has the “Display intranet sites in compatibility View” option checked.
Click Tools > Compatibility View Settings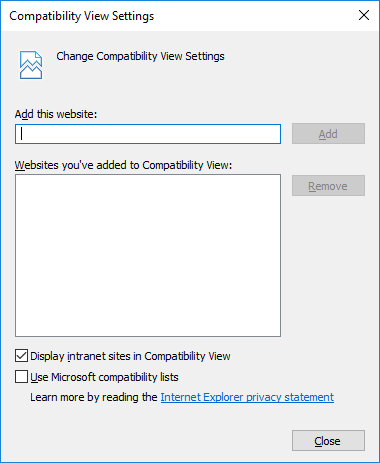
4.Make sure that the Internet Explorer is closed and there is no running “Java” process under “Task Manager” in order to be able to delete UCF cache.
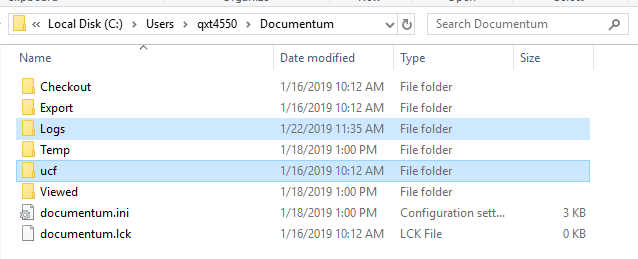
Navigate to the user profile path then “Documentum” folder
(For example: C:Users\Documentum)
Delete both “Logs” & “ucf” folders to clear UCF caches.
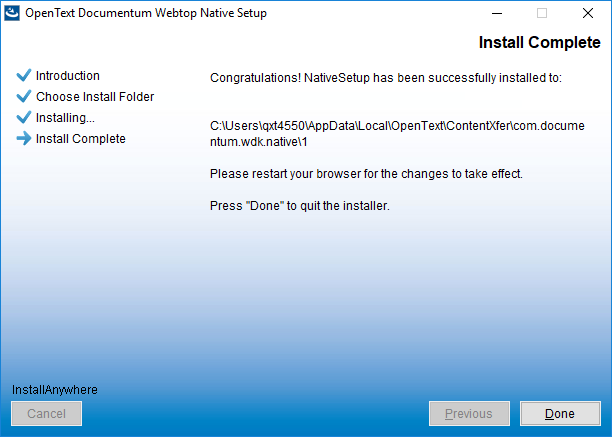
5. Navigate to Native client installation path.
Note 1: Default installation path is:
C:Users\AppDataLocalOpenTextContentXfercom.documentum.wdk.native1 folder
Note 2: Native Client Installation adds the following Registry Entry: HKEY_CURRENT_USERSOFTWAREOpentextWebtopNativeSetup
Here, you can also locate the values for Path and Version.
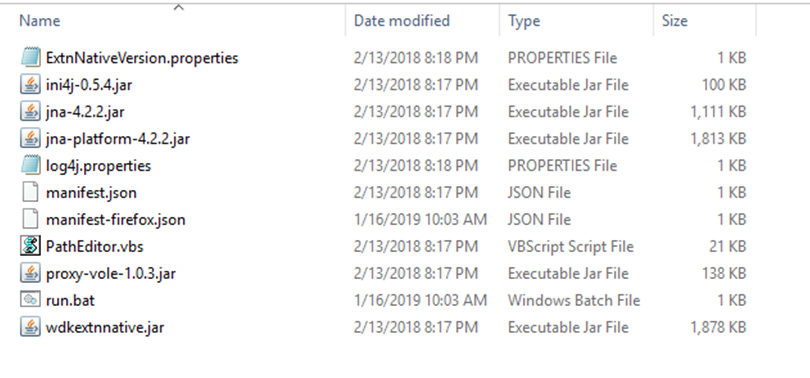
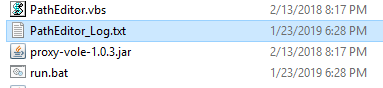
Edit “run.bat” file and make sure that it reference Java 8 (and not Java 7) as shown below:

Note: If it was referencing Java 7, make sure to install Java 8 then double click “PathEditor.vbs” file which is going to generate “PathEditor_Log.txt” and update the “run.bat” with the correct Java version.
6. Review Native Client Logs for any errors. Log file is located under the following path:
C:Users\DocumentumLogsWDKNativewdkextnnative.log
How to? – Disable the “Drag & Drop” feature
Modify webtopwdkapp.xml and disable WDK plugin by setting it to False:

How to? – Modify the Java version (Webtop Plugin requires similar or higher Java version)

Note: The content transfer plugin will not work if the user has a Java version lower than the listed version on the above xml file.
I hope that this blog sheds some light on the installation steps for Documentum Webtop Native Client plugin 16.4 and serves as a troubleshooting guide. Should you need further help, please get in touch!


0 Comments